9 Herb Drying and Storage Setups That Fit a Small Kitchen
Drying a windowsill harvest can swallow the only counter you have, and poor storage wastes the effort. These nine setups use cabinet gaps, fridge sides, drawers, and temporary surfaces while keeping moisture, heat, and clutter in check.
This page contains affiliate links — we may earn a commission at no extra cost to you. See our disclosure.
1. Turn a Cooling Rack into a Drawer-Top Drying Tray
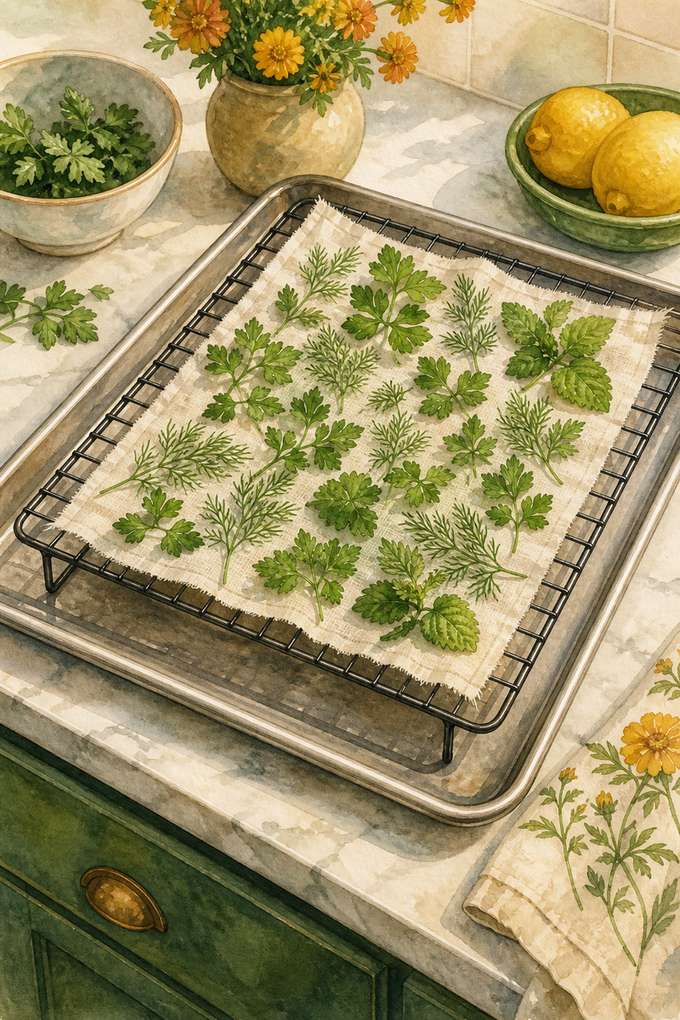
A standard 10-by-15-inch wire cooling rack makes a low-cost drying tray when set over a rimmed sheet pan or a rarely opened drawer. Lay food-safe cotton muslin over wide rack gaps, then arrange parsley, dill, or lemon balm in one layer. The pan catches brittle pieces, while the raised rack allows air underneath. Slide the whole assembly onto the refrigerator top between checks if that surface stays cool; many refrigerators release heat there, so test it first. Expect the rack to occupy real prep space for several days, and do not stack damp layers to save room. Wash the rack free of baked-on grease before use. This setup works best for one modest harvest, not an entire overflowing planter box.
2. Dry Herbs in a Paper-Bag Sleeve Above the Fridge
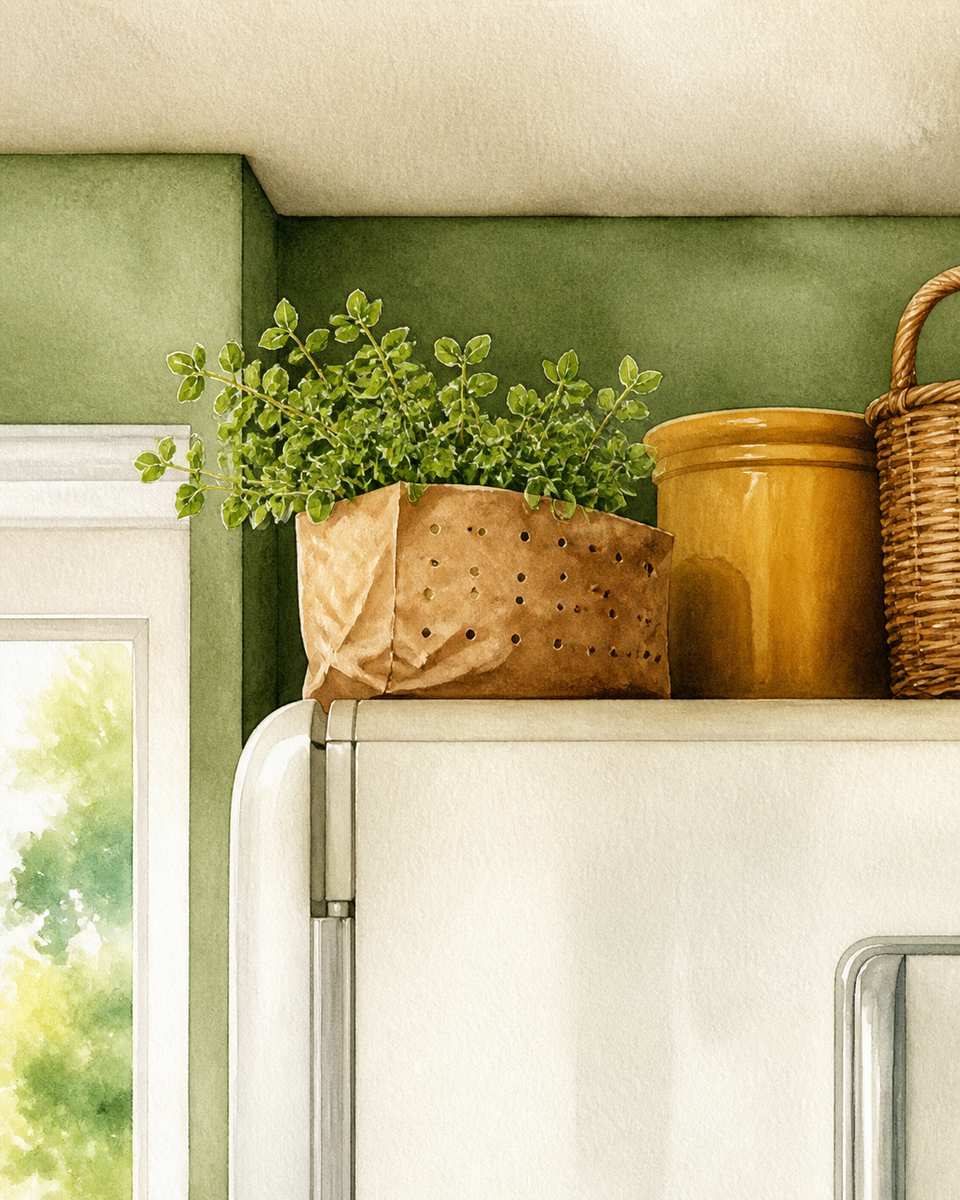
A ventilated paper bag contains falling leaves and shields herbs from kitchen light while using the awkward gap above the refrigerator. Punch roughly 20 pencil-size holes in a lunch bag, place one loose bundle of oregano or marjoram inside, and tie the bag around the stem ends rather than packing it full. Set or suspend it only where there is at least 4 inches of clearance and no noticeable heat buildup. Check every day for condensation or a musty smell; the enclosed format hides problems more readily than an open rack. Refrigerators vary, and some tops run too warm or collect greasy dust. If the bag feels warm after an hour, move it to a high shelf away from cooking steam instead.
3. Use a Countertop Dehydrator Only for Fast Turnaround
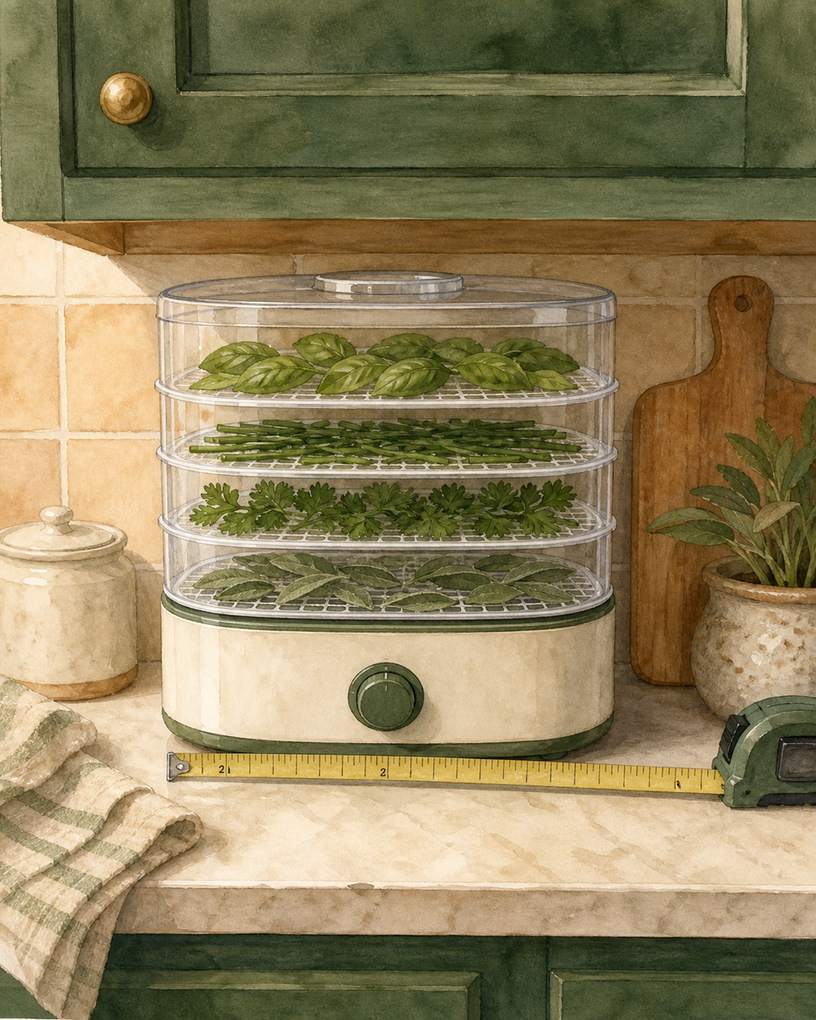
A compact stackable dehydrator earns its counter space when humid weather makes air-drying unreliable. Load washed, thoroughly blotted basil, chives, or parsley in single layers and use the herb setting or about 95 to 115°F if the manufacturer permits it. Start checking delicate leaves after 2 hours; thicker sage may need several more. The trade-off is a boxy appliance, fan noise, and electricity use, so measure both the footprint and cabinet height before buying one. A unit around 11 inches wide is easier to live with than a full-size model, but it handles smaller batches. Keep trays away from stove grease, and follow the machine manual because heat controls differ. Overheating cooks off aroma instead of preserving it.
Product pick — compact stackable food dehydrator
4. Build a Magnetic Jar Row on the Refrigerator Side
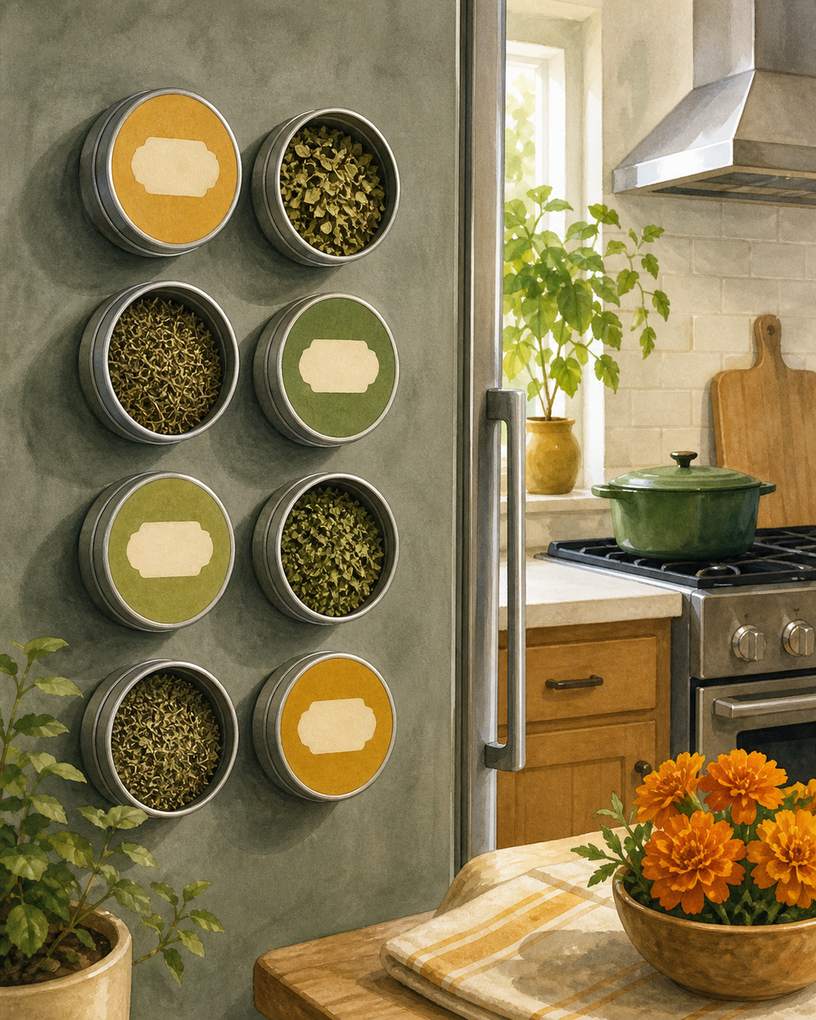
A row of magnetic spice tins uses the refrigerator side without claiming a drawer or drilling the backsplash. Fill only with herbs that snap cleanly when bent, then label the lid with the herb name and month; dried thyme and oregano are good starters. Choose tins with clear food-safe liners and strong individual magnets, and test one half-full tin for 24 hours before installing the row. A 2-ounce tin usually holds enough leaves for everyday cooking without encouraging years of storage. The catch is that magnets can slide on curved or textured doors, and the side near a range may become warm and greasy. Keep the row away from the door edge, where repeated slamming can shake tins loose, and out of direct sun.
5. Fit Amber Jars into a Shallow Pull-Out Bin
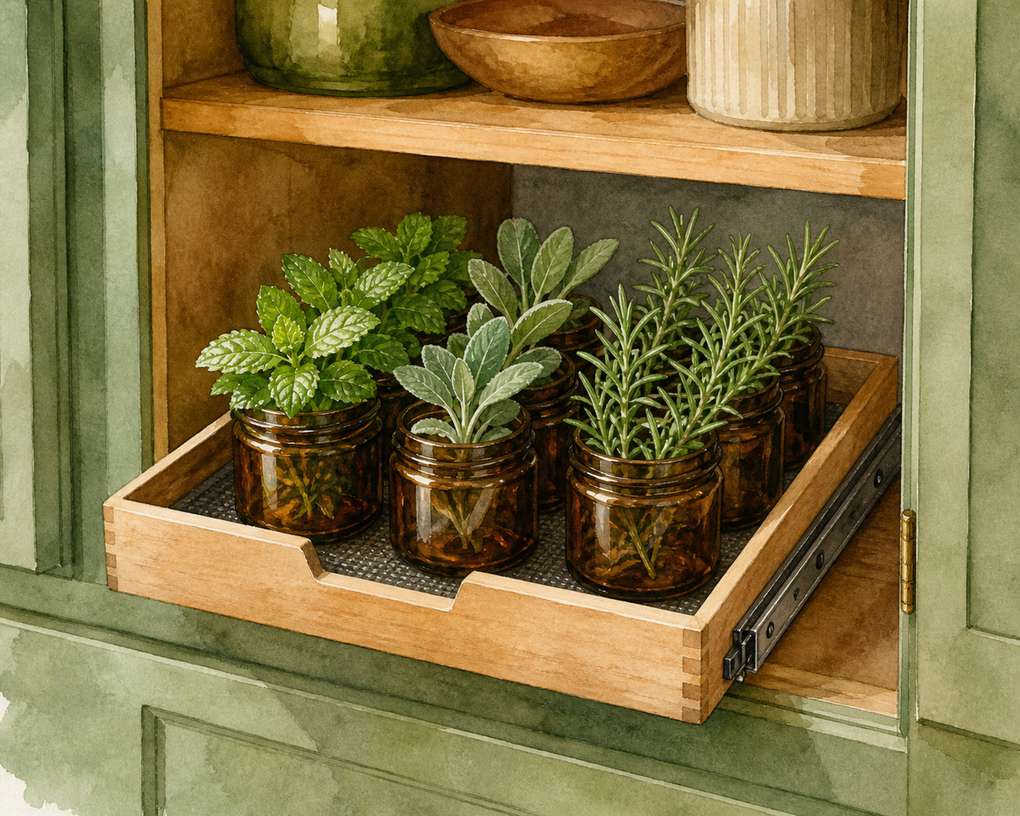
Amber glass jars inside a shallow pull-out bin protect dried herbs from light while making the full collection accessible in one motion. Use matching 4-ounce jars for frequently harvested herbs such as mint, sage, and rosemary, and add the harvest month to each lid. Measure the cabinet first: many upper shelves are only 10 to 11 inches deep, so a narrow handled bin is safer than guessing. Place a square of nonslip shelf liner beneath the jars to stop clinking. Glass is heavier and breakable, but it seals odors better than thin bags and reveals moisture on the inner wall. Never top up an old jar with a new batch; empty, wash, and fully dry it first so stale herbs or hidden dampness do not spoil fresh work.
Product pick — 4-ounce amber glass spice jars
6. Make a Slim Packet File for Backup Herbs
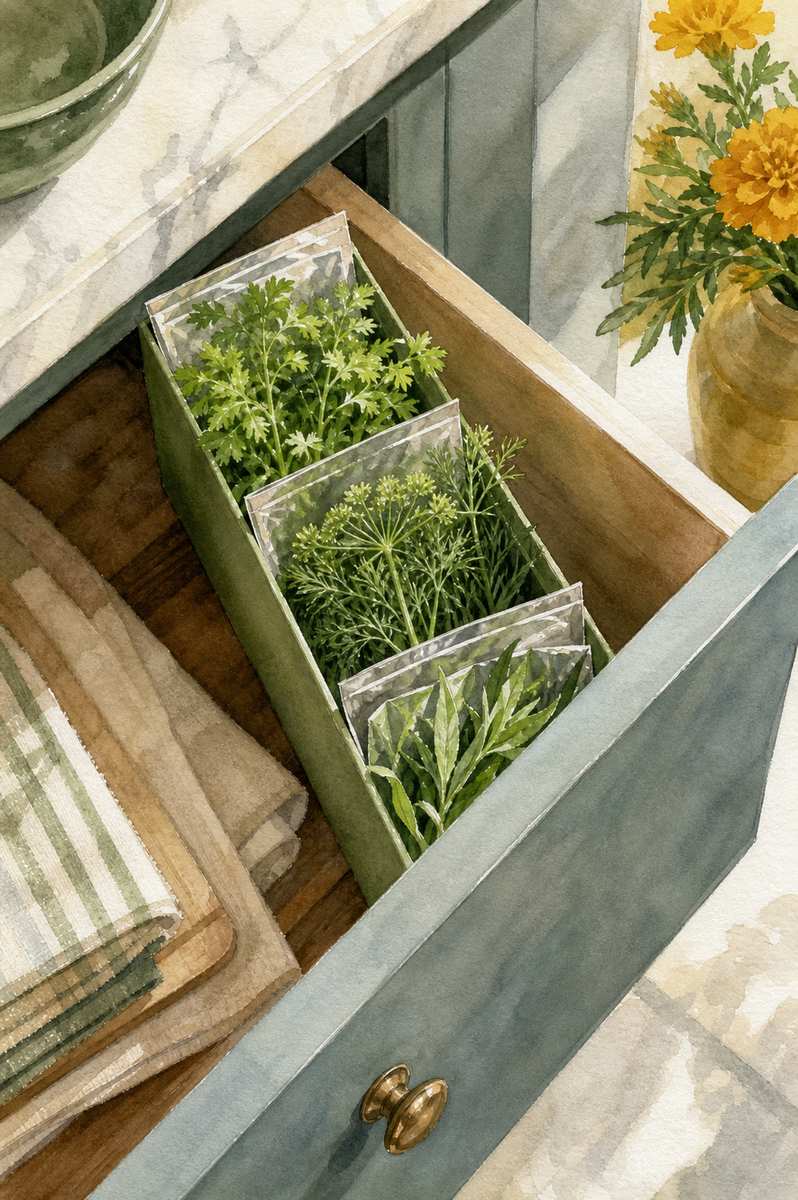
Flat foil-lined barrier pouches store occasional-use herbs in the narrow gaps that jars cannot exploit. Portion 1 to 2 tablespoons of dried tarragon, dill, or chervil into small zip pouches, press out excess air, and stand them upright in a 3-inch-wide recipe-card box. This is useful for backup quantities rather than daily pinching, which quickly wears out the seals. Write the herb and drying month on each pouch, and discard any packet that develops condensation, clumps, or an off odor. The compromise is poor visibility and more disposable material than reusable jars. Ordinary sandwich bags allow more light and odor exchange, so use food-safe high-barrier pouches and store the file in a cool drawer, never in the warm cabinet above the range.
7. Freeze Tender Herbs in a Vertical Cube Tray
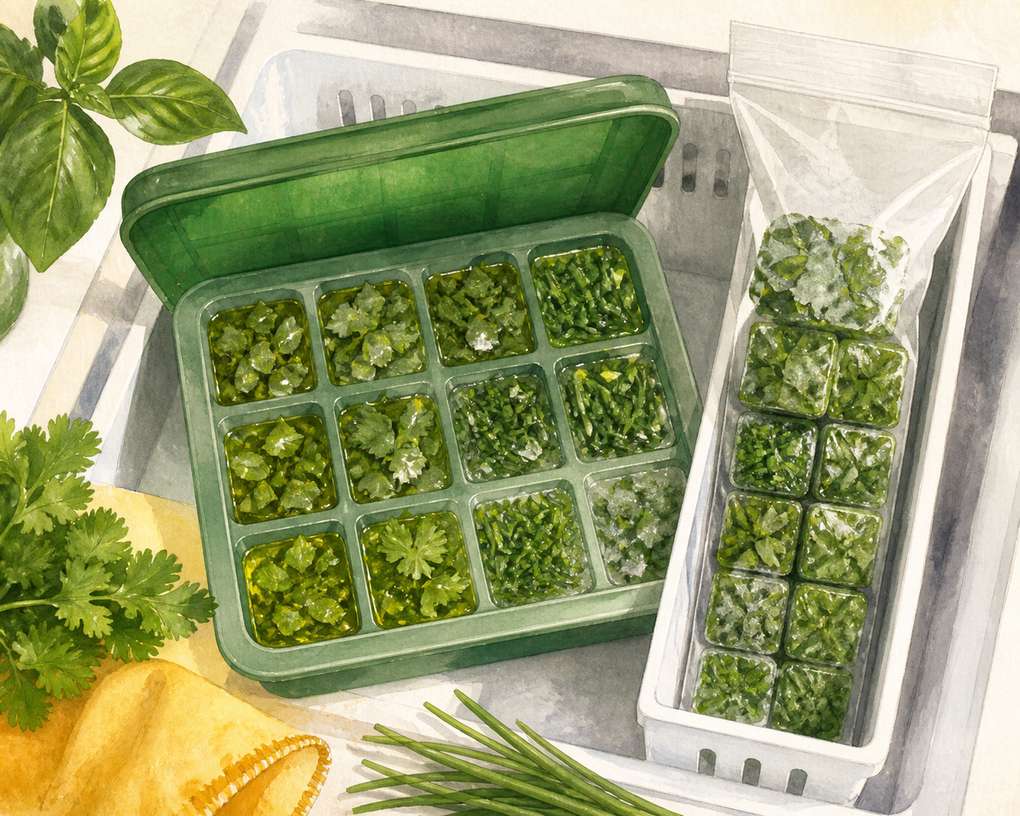
A lidded silicone cube tray is the better storage setup for tender herbs that lose character when dried. Chop basil, cilantro, or chives, pack about 1 tablespoon into each well, cover with water or olive oil, and freeze flat. Once solid, transfer the cubes to one dated freezer bag so the tray returns to service; stand the bag vertically in a freezer bin like a file. Oil cubes belong in cooked dishes, not drinks, and should go straight from freezer to pan rather than thawing on the counter. This method uses freezer capacity and does not produce shelf-stable herbs, but it preserves a fresher flavor than air-drying cilantro. Leave roughly one-quarter of each well empty because water expands as it freezes.
Common questions
- How do I know when herbs are dry enough to store?
- Leaves should feel crisp and crumble easily, while small stems should snap instead of bend. Let a warm dehydrator batch cool completely before jarring it. Check the sealed container after 24 hours; condensation or softened leaves means the herbs need more drying.
- Where is the worst place to dry or store herbs in a small kitchen?
- Avoid the cabinet above the range, the steamy area beside the sink, and any sunny windowsill. Heat, humidity, grease, and light shorten quality. A cool interior drawer or shaded cabinet is better; if using the refrigerator top, check whether it becomes warm while the compressor runs.
- How long should home-dried herbs stay in storage?
- For best flavor, label each batch and aim to use leafy herbs within about 6 to 12 months. They may remain usable longer if completely dry and sealed, but aroma fades. Discard herbs with mold, moisture, insect activity, or a musty smell regardless of age.
- Should I wash herbs before drying them?
- Wash herbs if they are gritty, sprayed, or exposed to pets or street dust, then spin or blot them thoroughly and let surface water evaporate before drying. Clean indoor leaves may only need inspection. Never bundle wet stems; trapped droplets make mold much more likely.