9 Stain-Free Patio Container Ideas for Renters With Concrete Floors
Concrete can hold onto fertilizer rings, rust marks, and muddy runoff long after the pots move out. These nine setups keep drainage contained without drilling, permanent flooring, or a garden hose.
This page contains affiliate links — we may earn a commission at no extra cost to you. See our disclosure.
1. Raise deep saucers on silicone pot feet
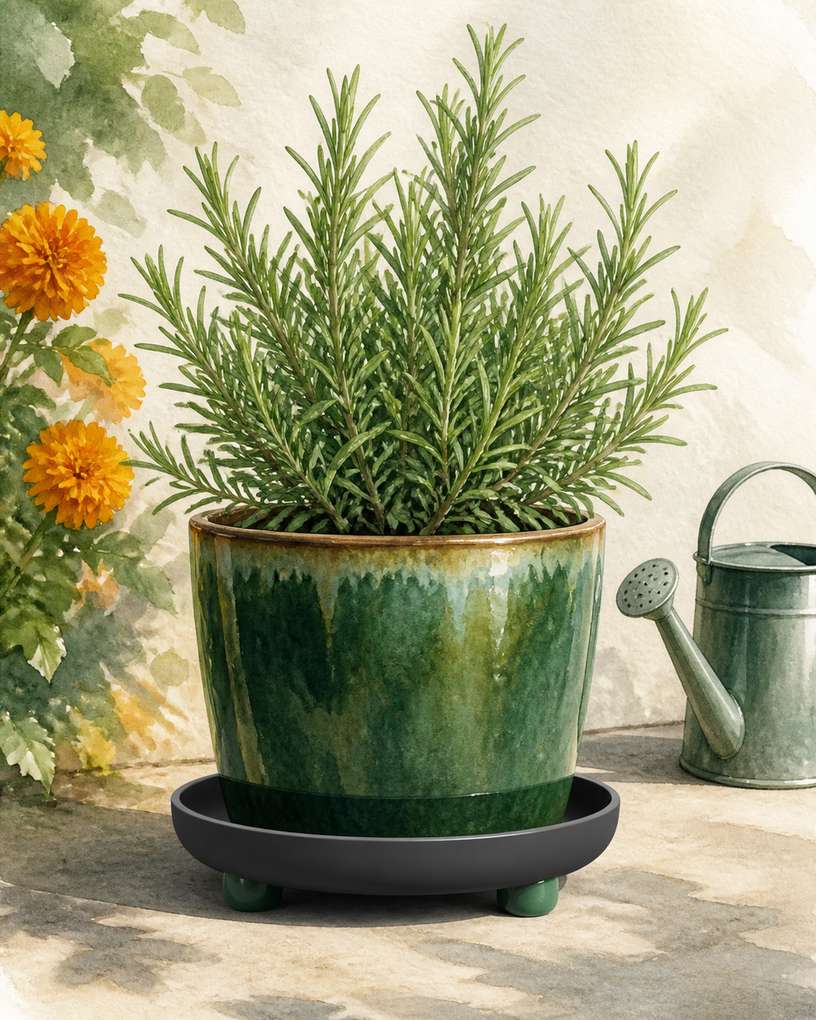
Put each pot on a UV-resistant polypropylene saucer at least 2 inches wider than the pot’s base, then raise the saucer on three silicone feet. The deep lip catches brown runoff, while the feet leave an air gap so condensation can dry instead of making a dark ring. This works well for a 12-inch pot of dwarf lavender or rosemary that prefers sharp drainage. Skip thin clear saucers; summer sun makes them brittle, and a small crack can leak unnoticed. Empty captured water after irrigation and scrub the saucer monthly with dish soap. If your water leaves white mineral crust, wipe it with diluted vinegar away from the plant. Even a sound saucer can overflow in heavy rain, so move pots under cover before a storm.
2. Group herb pots inside a mortar-mixing tub
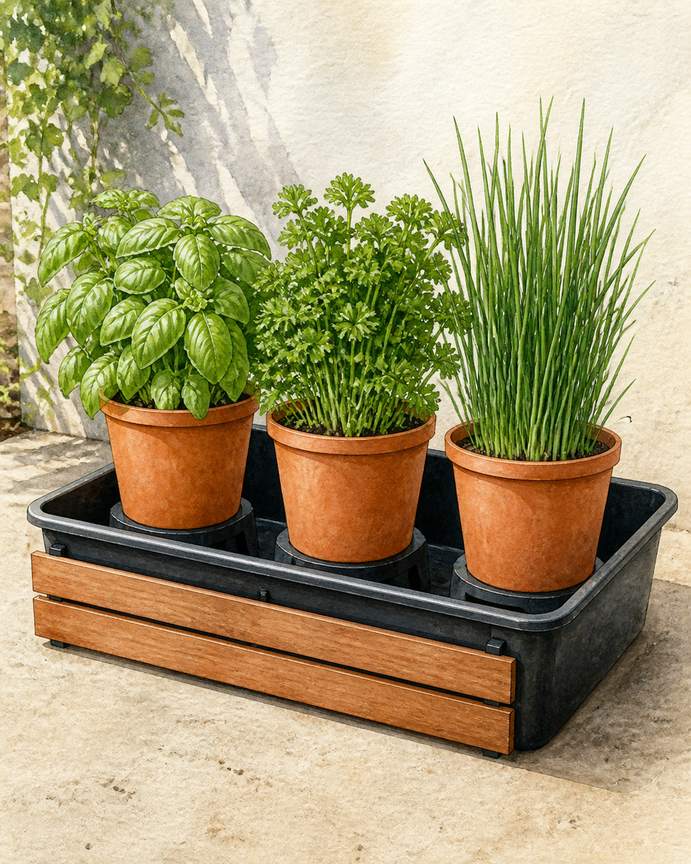
A black polypropylene mortar-mixing tub makes a sturdy shared drip tray for three or four small pots. Choose a tub about 24 by 18 inches with a 2-inch rim, then set the pots on plastic pot feet inside it so roots never sit in runoff. Group thirsty plants such as basil, parsley, and chives; they can share a watering schedule, which makes the tray easier to monitor. The tub catches fertilizer salts and soil particles before either reaches concrete. Its downside is appearance, though a cedar slat sleeve can hide the rim without touching the wet floor. Dark plastic also heats up in west-facing sun, so use this setup in morning sun or shade. Pour out standing water within 24 hours to discourage mosquitoes.
3. Double-pot plants in watertight cachepots
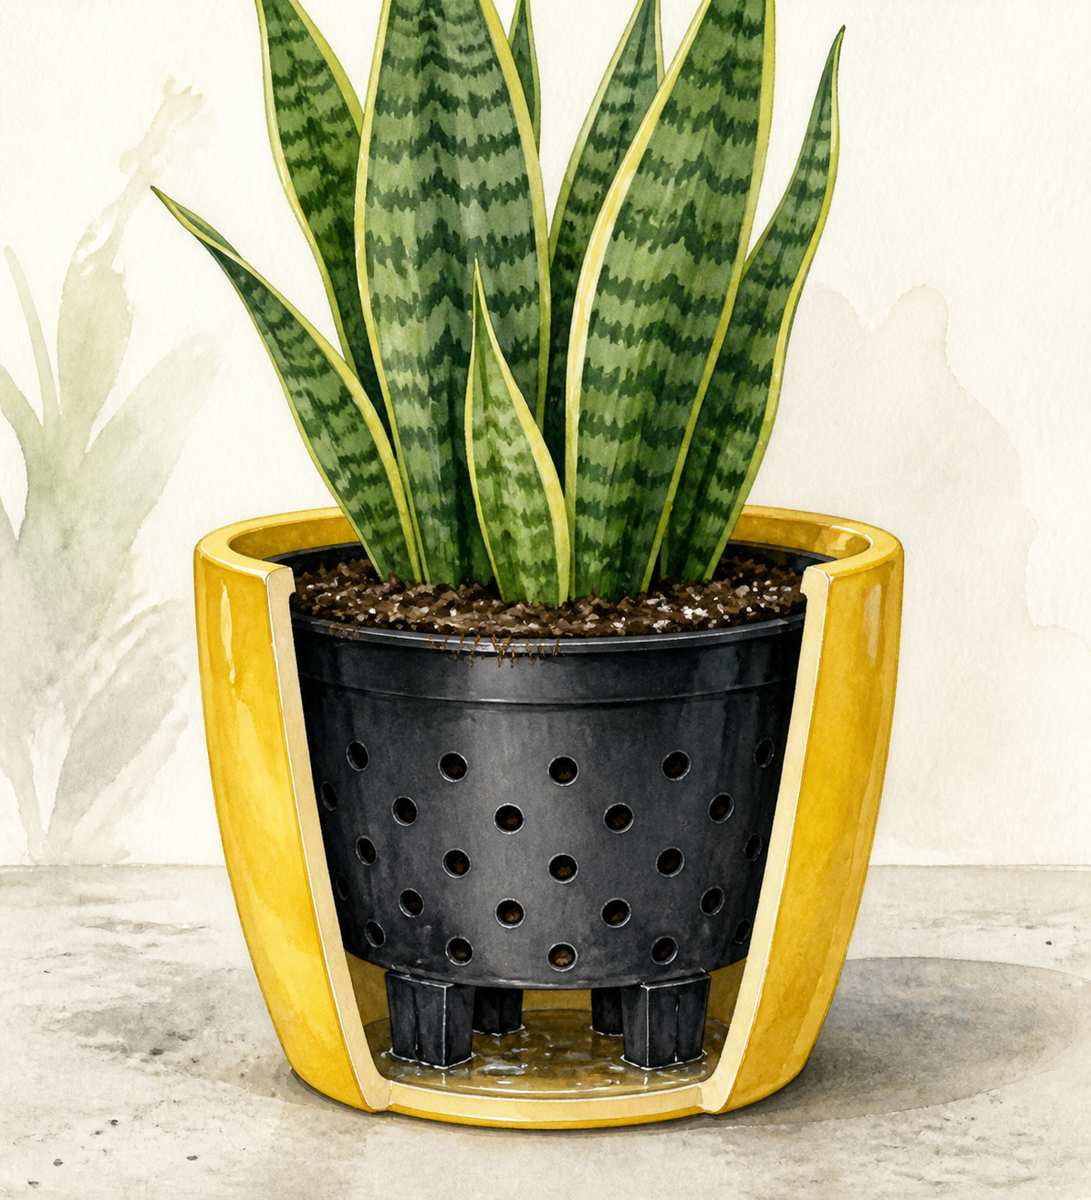
Keep the plant in its perforated nursery pot and slip it inside a watertight fiberglass or glazed cachepot with no drainage hole. Add a 1-inch layer of plastic risers beneath the inner pot, not gravel, so runoff has a visible place to collect. This is especially handy for a snake plant, ZZ plant, or compact schefflera that dries between waterings. Ten minutes after watering, lift the nursery pot and pour the excess into a sink or bucket. The trade-off is hands-on maintenance: forgotten water can rot roots, and large inner pots become awkward to lift. Check the outer vessel for hairline cracks before using it on concrete. Unglazed terracotta is not a cachepot; moisture and iron-rich clay can still mark the slab.
4. Use a self-watering box with a controlled overflow
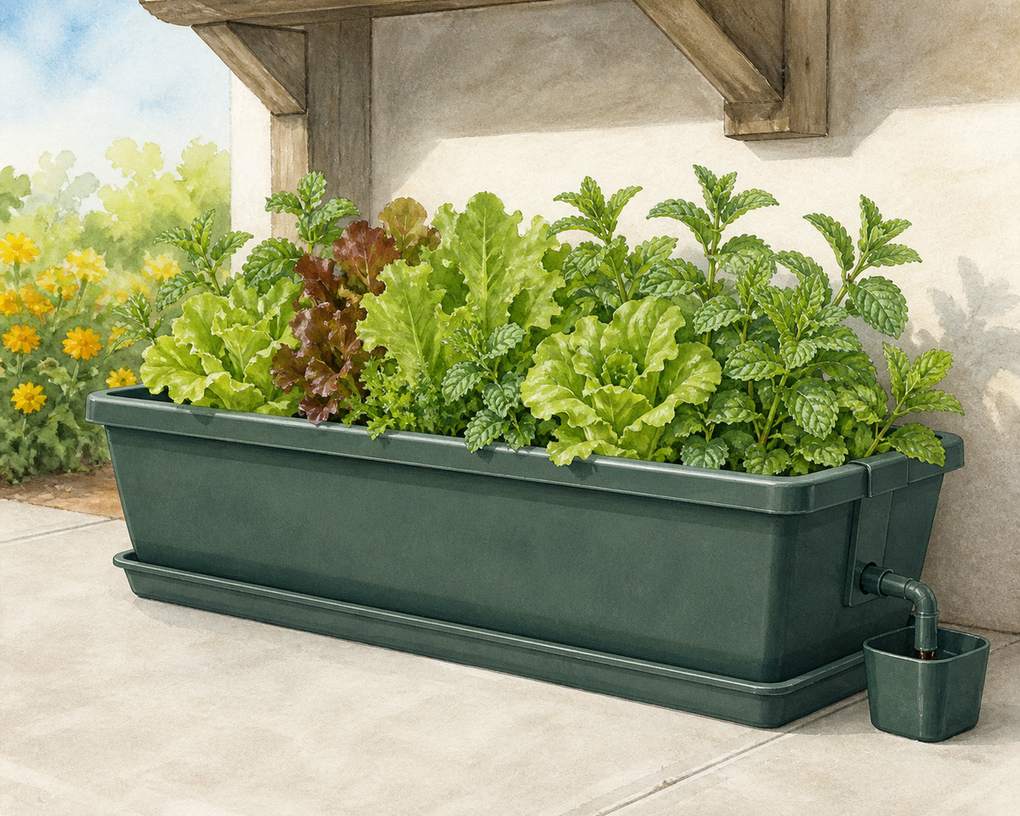
Use a self-watering planter with a sealed reservoir and a side overflow port you can direct into a removable cup. A 16- to 20-inch box suits lettuce, mint, or two compact peppers, and the reservoir cuts down on runoff from daily summer watering. Before planting, fill the reservoir outdoors and confirm that water exits only through the intended port. Some inexpensive boxes leak at seams, so place a rigid polypropylene tray underneath for the first week. The honest drawback is rain: a full reservoir can overflow fast during a thunderstorm, carrying fertilizer-colored water onto the patio. Keep the planter under an eave or pull the overflow plug before heavy rain, with a catch container in place. Flush accumulated salts every four to six weeks where runoff can be disposed of safely.
Product pick — self-watering planter with a side overflow port
5. Put heavy pots on resin caddies with catch basins
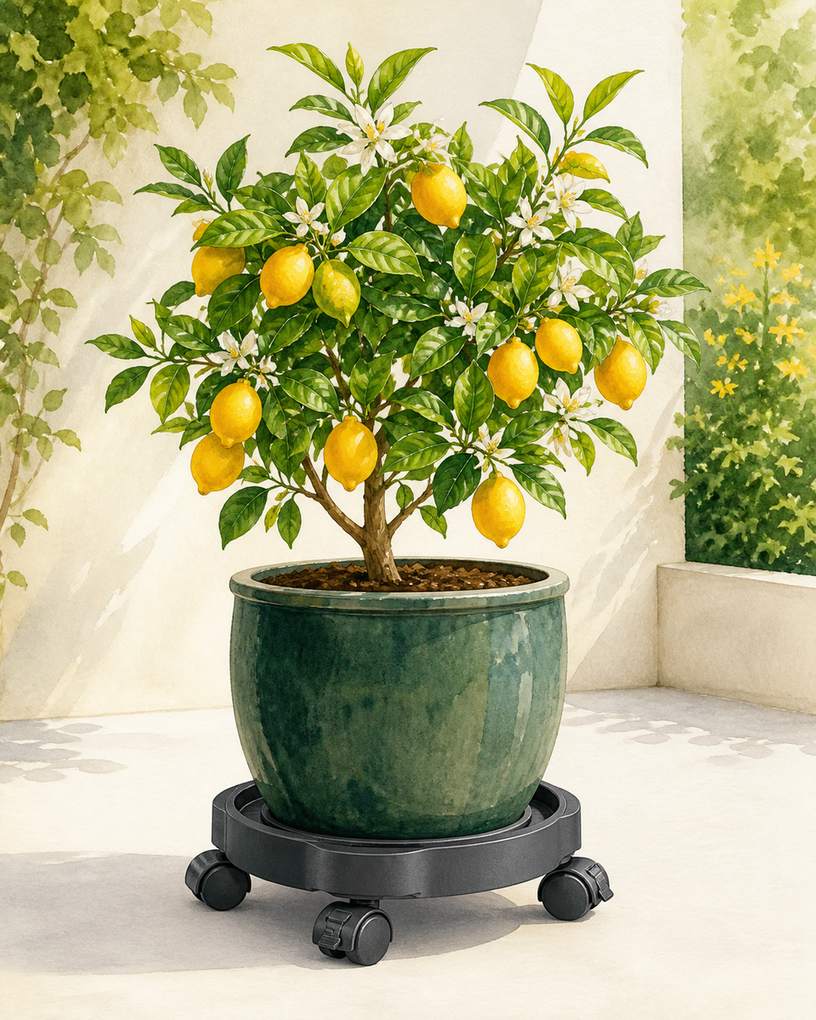
A wheeled caddy with a molded catch basin lets you move a heavy pot without dragging rust, grit, or wet soil across concrete. Look for UV-stable plastic, locking casters, and a stated load rating above the finished pot’s weight; a wet 14-inch ceramic container can easily top 50 pounds. This setup earns its space under a dwarf citrus or patio tomato that needs occasional turning for even light. Avoid powder-coated steel caddies unless every weld is protected, since one chipped spot can leave orange rust marks. Lock at least two wheels on any sloped slab, and do not rely on the caddy as a wind anchor. Empty the basin after watering. The wheels raise the pot enough for airflow, but narrow casters may still leave pressure marks on soft coatings.
6. Add a removable vinyl splash zone
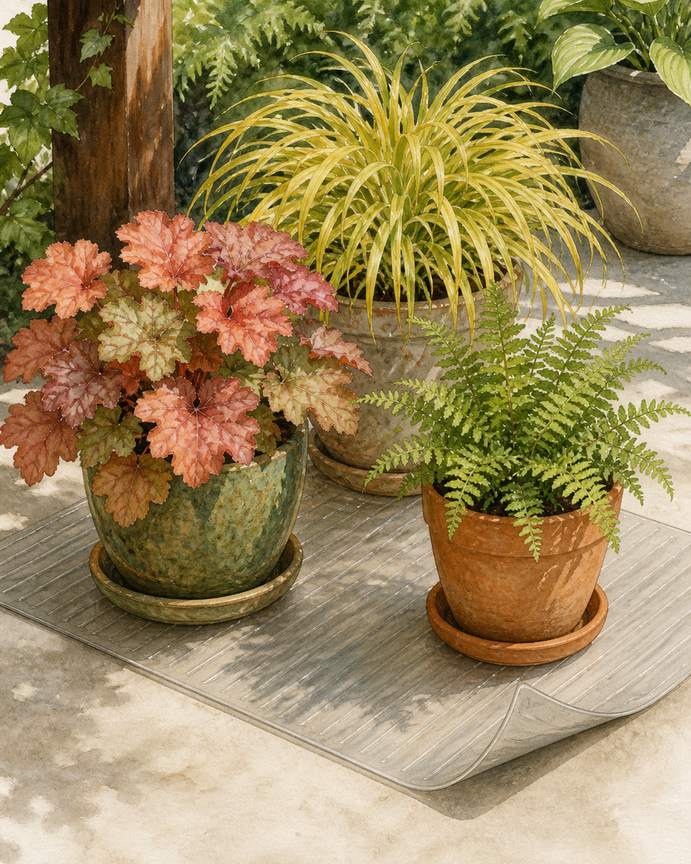
Create a cleanable garden zone with a clear, ribbed vinyl floor protector beneath the containers. Cut it so it extends 6 inches beyond the pot cluster, and keep the ribbed side down to preserve a small drying gap. Place individual saucers on top; the mat is backup for splashes, spilled potting mix, and rusty tools, not a substitute for drainage control. A grouping of coral bells, Japanese forest grass, and ferns works well on a shaded patio where hot vinyl is less of a concern. Clear vinyl can yellow, curl, or trap grit over time, so lift it every two weeks, sweep underneath, and let both surfaces dry. Ask the landlord before using it on painted or sealed concrete because some plasticizers can react with floor coatings.
7. Center a tiered plant stand over one boot tray
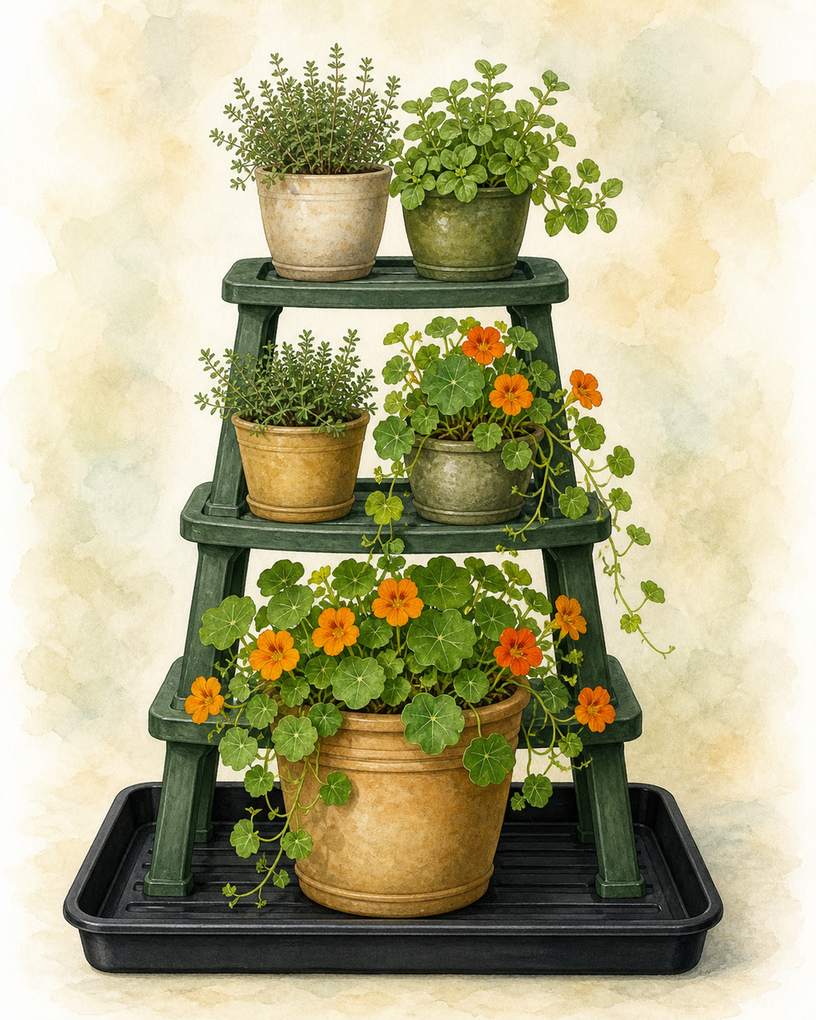
Set a freestanding three-tier plant stand inside one oversized boot tray, keeping every pot’s drip line over the tray. Powder-free aluminum or resin is safer than bare steel, which can rust where joints meet. Put small 6- to 8-inch pots of thyme, oregano, and trailing nasturtium on upper shelves, with the heaviest pot on the bottom to lower the center of gravity. This arrangement gives nine plants roughly the footprint of three, while one tray catches soil and runoff. It is not a good choice for an exposed, windy patio unless the stand has a broad base and your lease allows a non-drilled ballast. Water slowly with a narrow-spout can; water poured too fast will bounce off leaves and miss the tray. Wipe shelf drips before they dry.
8. Put fabric grow bags on grates inside rigid trays
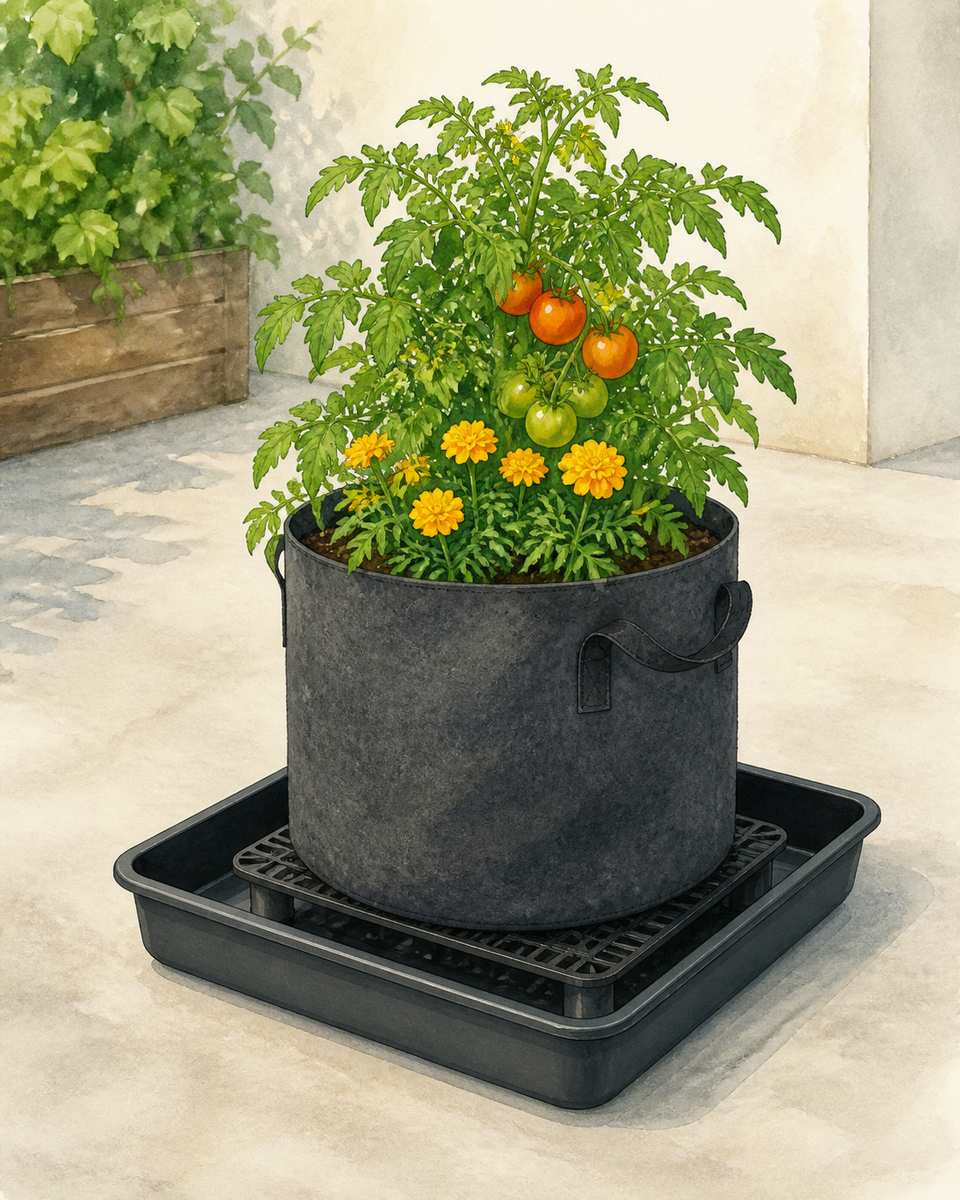
Fabric grow bags drain freely, which is useful for tomatoes and potatoes but terrible for clean concrete. Nest each 7- or 10-gallon bag in a rigid, 2-inch-deep polypropylene tray, then set the bag on a low plastic grate inside the tray. The grate keeps the bottom from soaking in collected water and reduces the brown fabric imprint that appears when a wet bag sits directly on the slab. Use a peat-free potting mix with perlite rather than garden soil, which compacts and produces muddy runoff. During heat waves, bags may need water every day; pour in two passes so the mix absorbs moisture instead of shedding it. Empty the tray after 15 minutes. Expect the bag itself to fade and grow algae along the base even if the patio stays clean.
9. Build a bucket-and-siphon watering station
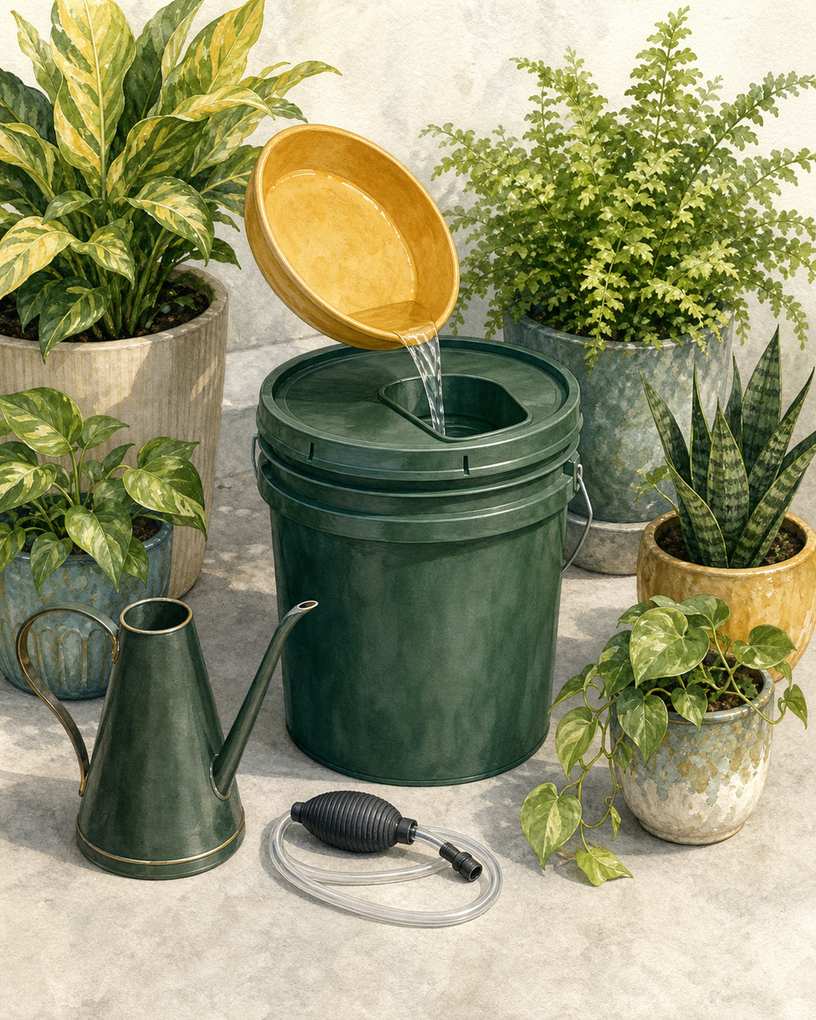
Make one corner the watering station: a 5-gallon bucket, a narrow-spout can, and a dedicated turkey baster or small siphon for removing saucer water. Water each pot until the first trickle appears, wait 10 minutes, then draw off runoff instead of tipping a heavy container across the floor. This routine costs less than replacing every planter and works with mixed materials, including resin, glazed ceramic, and metal cachepots. Use half-strength liquid fertilizer only when plants are actively growing; excess feed is what turns many harmless drips into stubborn white or brown marks. The catch is consistency. Someone has to empty every saucer after watering and after rain. Keep the bucket lidded between uses, and never leave standing water long enough for mosquitoes to breed.
Common questions
- Will ordinary plant saucers keep concrete completely stain-free?
- Only if they are watertight, wide enough, and emptied promptly. Choose a saucer at least 2 inches wider than the pot base, raise it on nonmarking feet, and test it over a sink before use. Hairline cracks, storm overflow, and condensation beneath a flat saucer can still leave marks.
- What causes white rings around patio containers?
- White rings usually come from dissolved minerals in tap water or fertilizer salts. Water more slowly, use fertilizer at half strength when appropriate, and collect runoff. Existing mineral residue may lift with diluted white vinegar, but test a hidden patch first because acids can dull sealed or decorative concrete.
- How much weight can a concrete apartment patio hold?
- The slab material alone does not answer that question; balconies and elevated patios have building-specific load limits. Count the wet weight of the pot, soil, plant, caddy, and stored water. A medium ceramic pot can exceed 50 pounds after watering. Check your lease, building management, or a qualified professional before clustering heavy containers.
- What should happen to these containers in winter?
- Empty saucers and reservoirs before freezing weather so trapped water cannot split them. Move glazed ceramic and terracotta under cover unless the maker rates them for freeze-thaw cycles. Plastic trays usually fare better, but brittle ones should come indoors. Plant protection depends on your USDA zone and how exposed the patio is.