9 Vertical Strawberry Garden Ideas for Small-Space Growers
Strawberries can climb a wall, railing, or narrow corner without taking over your sitting space. These nine setups account for sun, watering, weight, and renter rules—plus the drawbacks that tend to appear after the first hot week.
This page contains affiliate links — we may earn a commission at no extra cost to you. See our disclosure.
1. Stack a Freestanding Cedar Strawberry Ladder
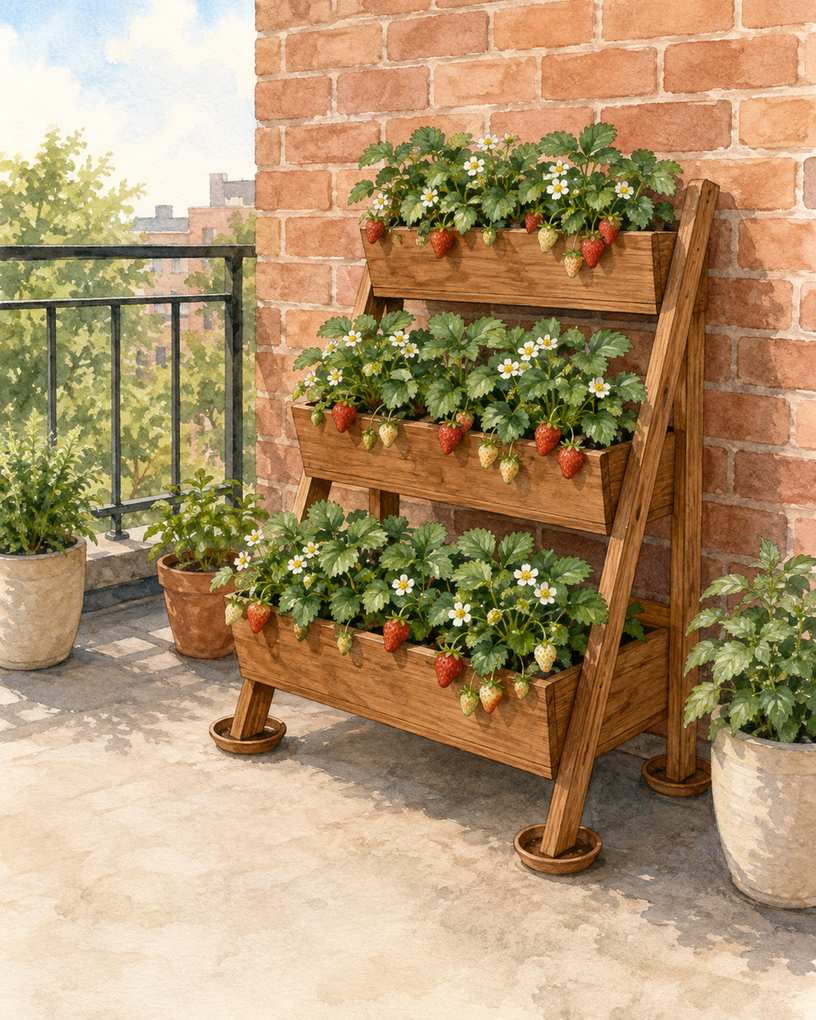
A three-tier cedar ladder puts 12 to 18 strawberry plants against a wall while leaving the wall untouched. Choose troughs at least 8 inches deep and set the widest planter at the bottom so the frame is harder to tip. This works well for renters and for patios where drilling is prohibited, but it is not featherlight: wet potting mix, water, and wood add up quickly. Check a balcony's posted load guidance and keep the unit near a structural wall rather than the outer edge. Plant compact, day-neutral 'Seascape' or 'Albion' strawberries, and rotate the ladder every week if one side receives less than 6 hours of sun.
2. Hang Fabric Pockets on a No-Drill Railing Frame
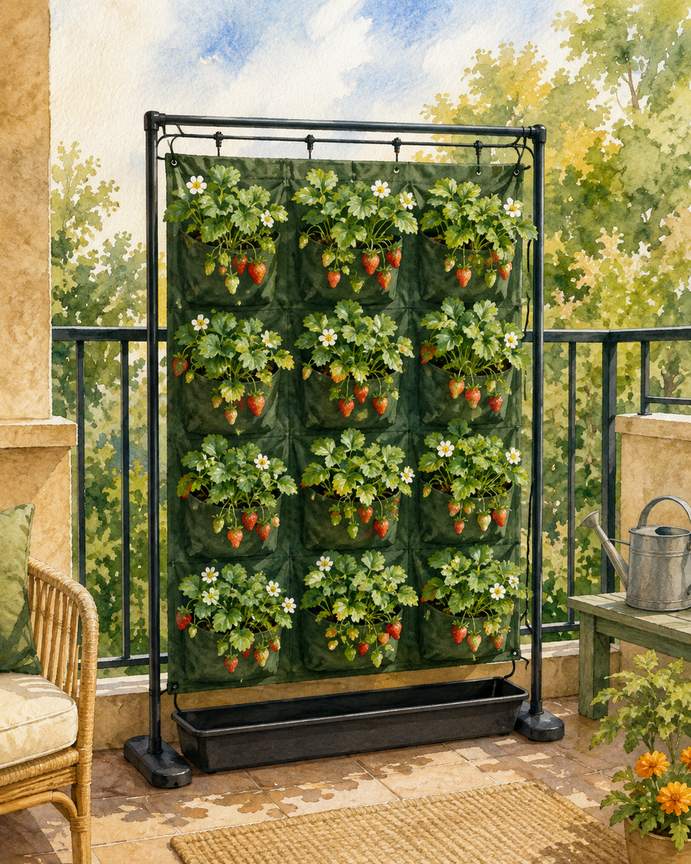
A fabric pocket panel hung from a freestanding railing frame gives each strawberry its own small root zone without screws in the building. Use pockets holding at least 1 gallon apiece; tiny shoe-organizer cells dry too fast for fruiting plants. Position the frame inside the railing, never over a public walkway, and secure its feet with manufacturer-approved ballast rather than improvised bricks. The trade-off is frequent watering: black felt can dry in a single windy afternoon, and lower pockets may stay wetter than upper ones. A simple drip line helps, but place a long catch tray below it so berry feed and rusty runoff do not stain a neighbor's balcony.
Product pick — a vertical fabric planter with one-gallon pockets
3. Build a Narrow PVC Strawberry Tower
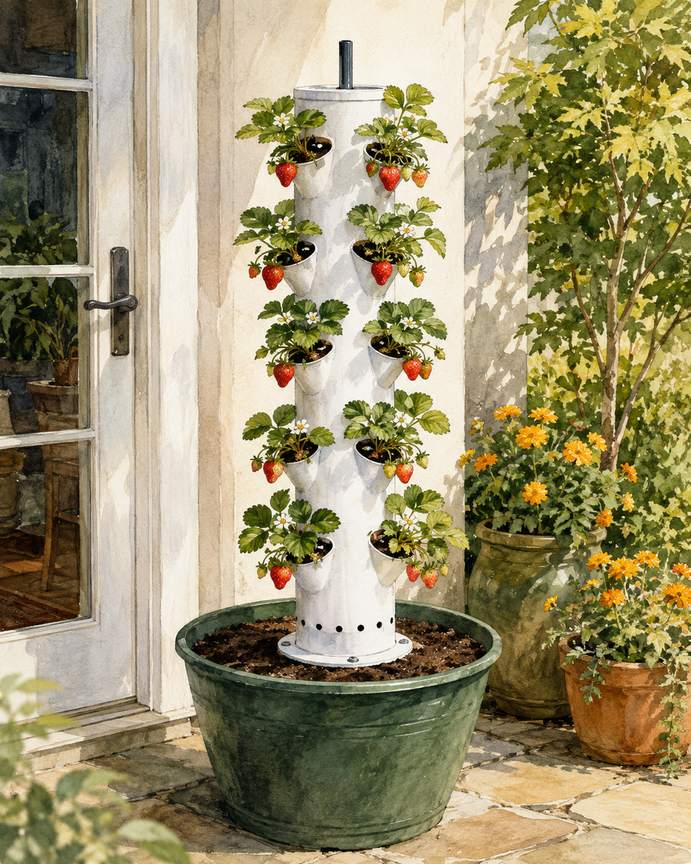
A 6-inch-diameter PVC tower can hold 12 plants in roughly one square foot, making it useful beside a sunny patio door. Cut planting openings in a staggered spiral, keep the lowest opening 8 inches above the soil line, and run a perforated 1-inch watering tube down the center. Food-safe, UV-stable pipe is the sensible material choice; unknown reclaimed pipe may have carried substances you do not want near food. Towers are top-heavy once foliage catches wind, so anchor the base in a broad 15-gallon container. Expect uneven moisture anyway: the top dries first, while the bottom can become soggy if the drainage holes clog.
4. Mount Rain Gutters on a Movable A-Frame
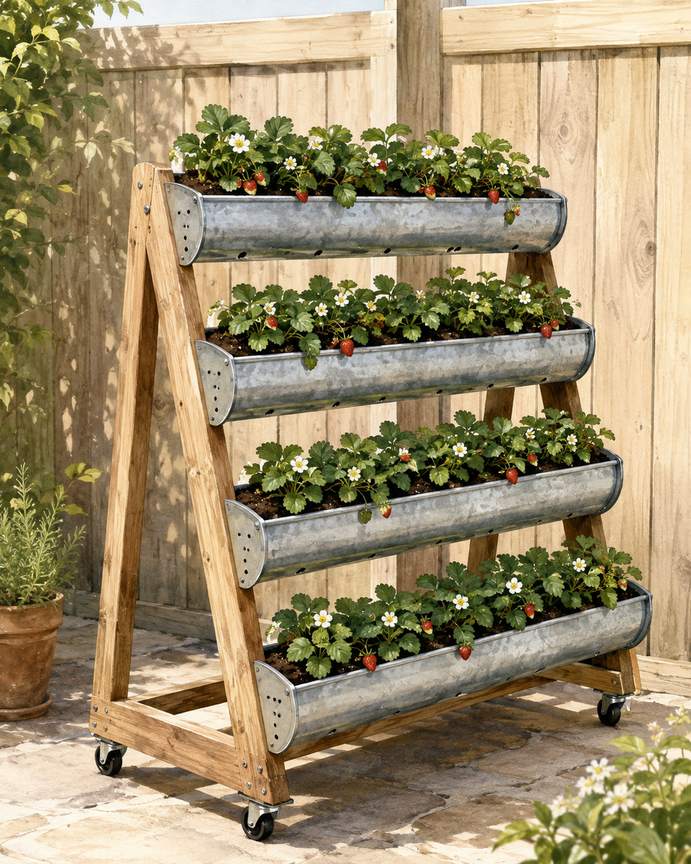
Two shallow rain gutters on each side of a wooden A-frame create four berry rows and can be moved without touching a fence. Cap both ends, drill drainage holes every 8 to 12 inches, and fill the gutters with a peat-free container mix rather than heavy garden soil. Alpine strawberries such as 'Alexandria' cope better with the limited root depth than large June-bearing plants, although their berries are smaller. Set the rows far enough apart that the upper gutter does not shade the one below. The catch is summer irrigation: a 5-inch gutter has little moisture reserve, so this setup needs daily checks during hot weather and may need watering twice on exposed, windy balconies.
5. Use a Self-Watering Stackable Planter
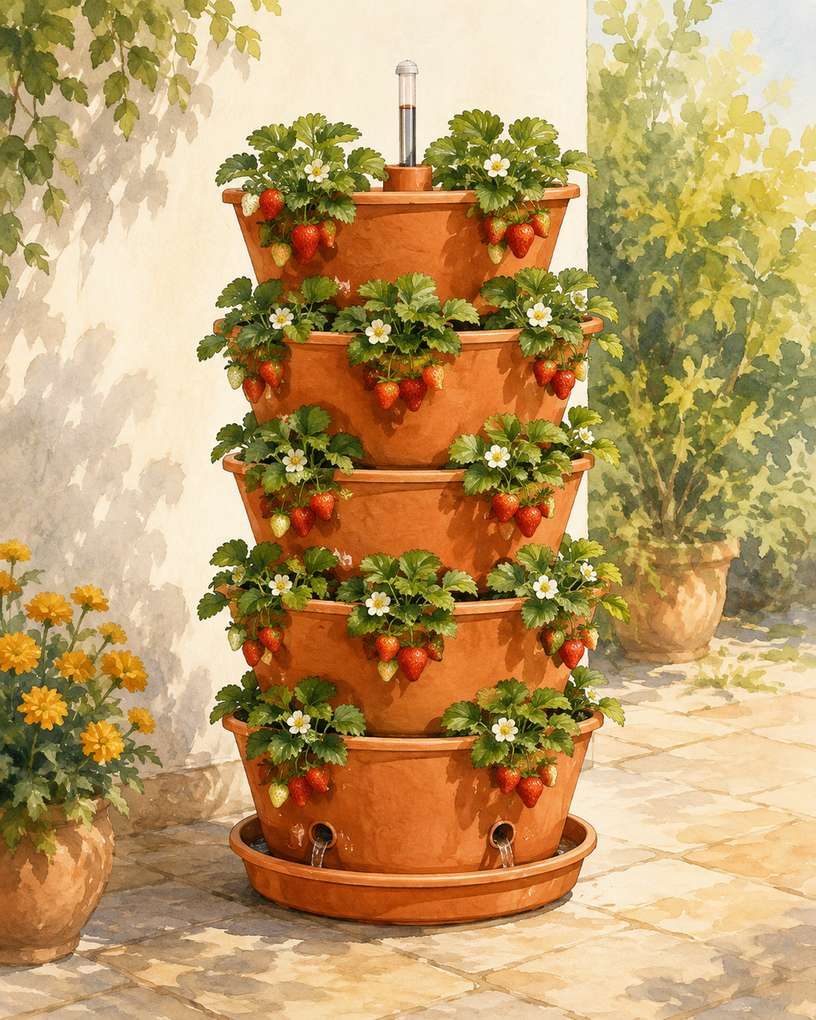
Interlocking self-watering tiers concentrate 15 strawberry plants in a footprint about 18 inches wide. Pick a model with a central fill tube and an overflow outlet on every reservoir; without overflow, a thunderstorm can leave lower crowns sitting in water. Arrange the tiers before filling because a five-level stack becomes awkward to move once wet. Day-neutral 'Tristar' is a good fit for the modest planting cells and fruits over a longer season than a single June-bearing flush. Reservoirs reduce missed-water stress, not maintenance: check them every two or three days in midsummer, flush accumulated fertilizer salts monthly, and turn the tower a quarter turn weekly for even sun.
Product pick — a stackable strawberry planter with separate reservoirs
6. Train Runners Down a Wall-Mounted Grid
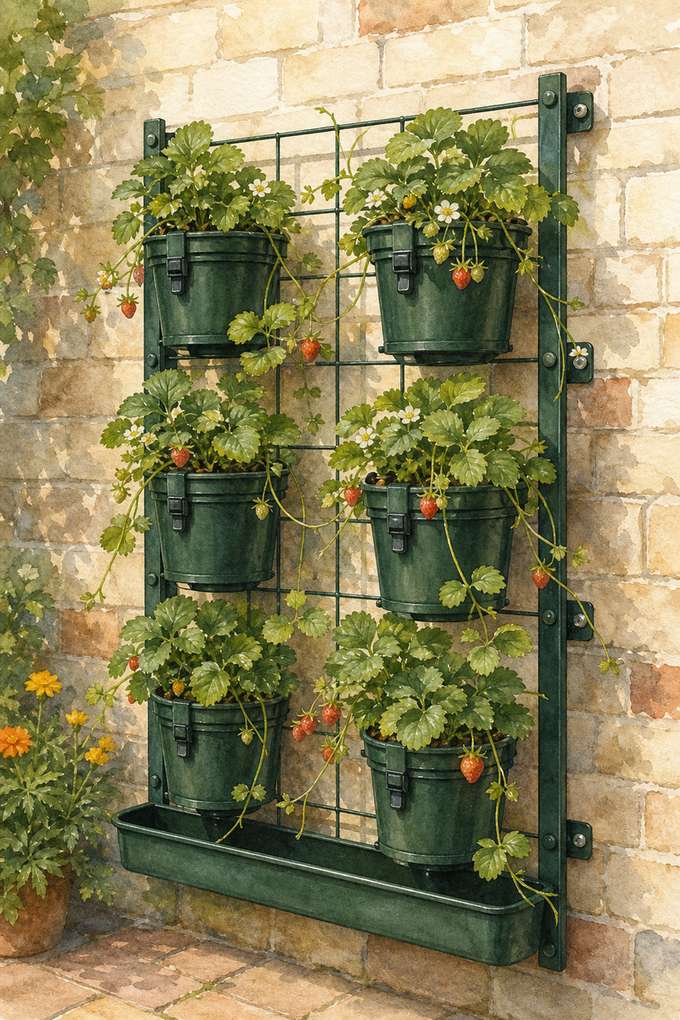
A powder-coated steel grid can support lightweight nursery pots while strawberry runners cascade downward instead of sprawling across the floor. Use 1-gallon pots with locking holders, allow about 10 inches between centers, and limit each mother plant to two or three daughter plants so fruit production does not collapse. This is best for an owner-approved masonry wall or a sturdy fence; drywall anchors and adhesive hooks are not appropriate for wet, fruiting containers. The grid itself is slim, but six watered pots can exceed 50 pounds. Confirm the fastener type and load capacity with your landlord or building manager, then add a bottom trough to catch runoff before it marks the wall.
7. Turn a Sunny Corner Into a Hanging Berry Column
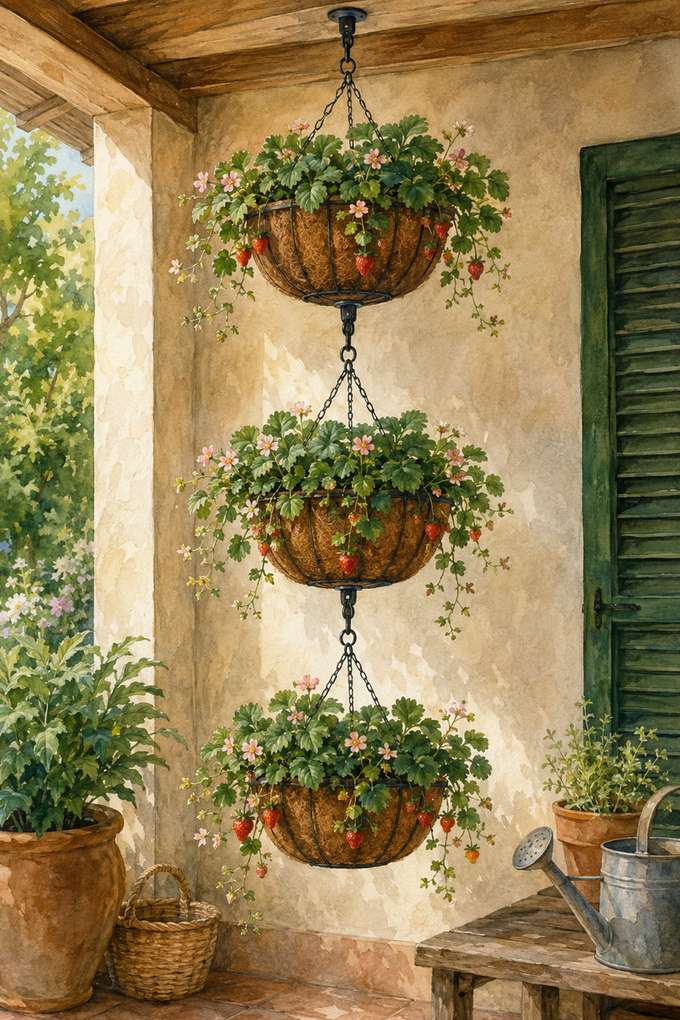
Three hanging baskets arranged vertically can occupy an otherwise wasted corner while keeping berries away from slugs. Use 12-inch coir-lined baskets, leave at least 18 inches between them, and plant no more than three strawberries per basket so roots are not crowded. Hang each basket from its own rated support rather than linking all three to one decorative hook. On a balcony, the support and location need landlord approval, and baskets must stay inside the railing. Coir looks tidy but loses moisture quickly; tuck a perforated reusable liner inside and check the top basket daily. Cascading 'Toscana' adds pink flowers, though it generally crops less heavily than 'Albion'.
8. Fill a Leaning Pallet With Removable Planting Boxes
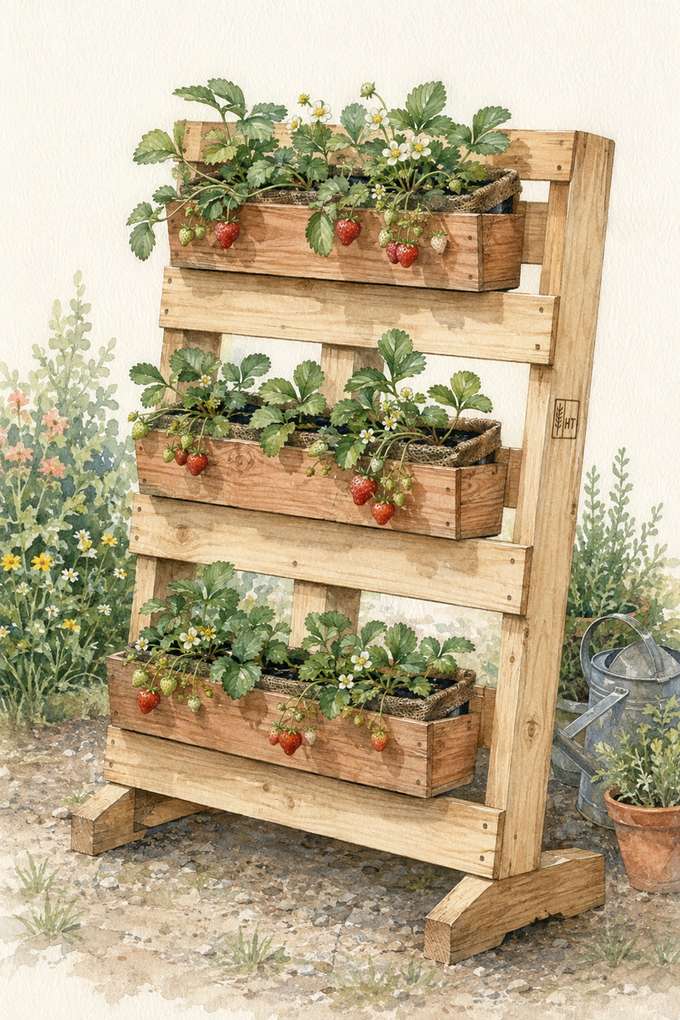
A heat-treated pallet can become a shallow leaning rack when removable cedar boxes are fitted between its slats. Look for an HT stamp and skip pallets marked MB, stained wood, or anything with an unknown shipping history. Give each box at least 7 inches of soil depth, line it with permeable landscape fabric, and plant strawberries 8 to 10 inches apart. The rack should lean only as its engineered feet allow; strap it to a freestanding weighted base if wall attachment is forbidden. Pallet wood weathers quickly and can splinter, so sand rough edges and expect repairs within a few seasons. Removable boxes make winter storage and soil replacement much easier.
9. Stack Terracotta Pots Around a Central Stake
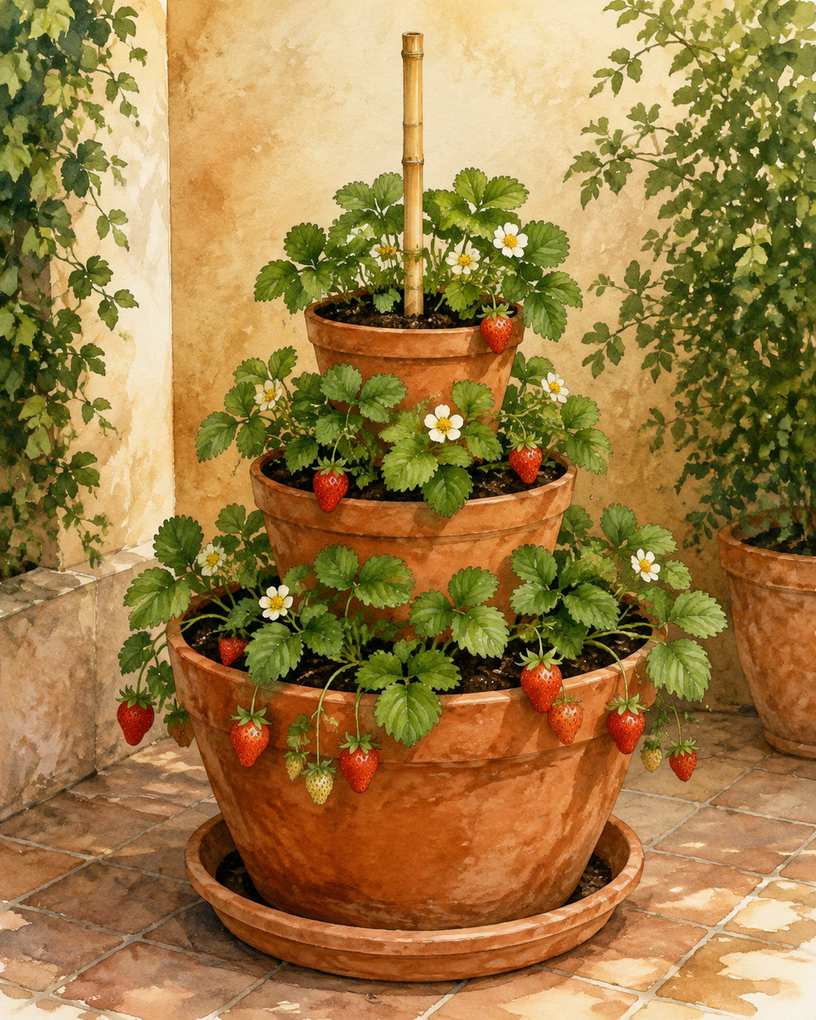
Nested terracotta pots make a compact strawberry pyramid with no plastic tower and no permanent installation. Start with a 16-inch pot, insert a sturdy bamboo or fiberglass stake through the drainage hole, then center 12-inch and 8-inch pots above it using inverted nursery pots as internal supports. Plant around the exposed rims and keep every strawberry crown just above the soil surface. Terracotta breathes, which helps prevent soggy roots, but it also dries faster and weighs substantially more than plastic when filled. Put the stack on its final saucer before planting, keep it out of strong wind, and dismantle it before a hard freeze can crack waterlogged pots.
Common questions
- How much sun do vertical strawberries need?
- Aim for at least 6 hours of direct sun for reliable flowering and sweet fruit. Plants can survive with 4 to 5 hours, but expect fewer berries; rotate towers weekly because walls and upper tiers often shade the lower plants.
- Are vertical strawberry planters too heavy for a balcony?
- They can be. One cubic foot of wet potting mix may weigh roughly 40 to 60 pounds before adding the planter, plants, and stored water. Total the filled weight, spread it over a stable footprint, and check your lease or building management for the balcony's specific load and placement rules.
- How often should a vertical strawberry garden be watered?
- Check moisture daily in warm or windy weather by feeling the top inch of mix. Shallow gutters and fabric pockets may need water once or twice a day during heat, while a reservoir planter may last two or three days. Water until it drains, but do not leave crowns standing in a full saucer.
- Can strawberries stay in vertical planters over winter?
- That depends on the cultivar, container size, and your USDA zone. Roots in small elevated pockets freeze faster than roots in the ground. After dormancy, move portable planters to an unheated sheltered area, insulate larger containers, and water lightly when the mix is thawed; check local extension guidance for your zone.